Showing posts with label chocolate. Show all posts

Wednesday, February 27, 2013

Chocolate Peanut Butter Swirl Cookies


Who's ready for their peanut butter fix??
These cookies are reminiscent of peanut butter cups, but better. Much better.
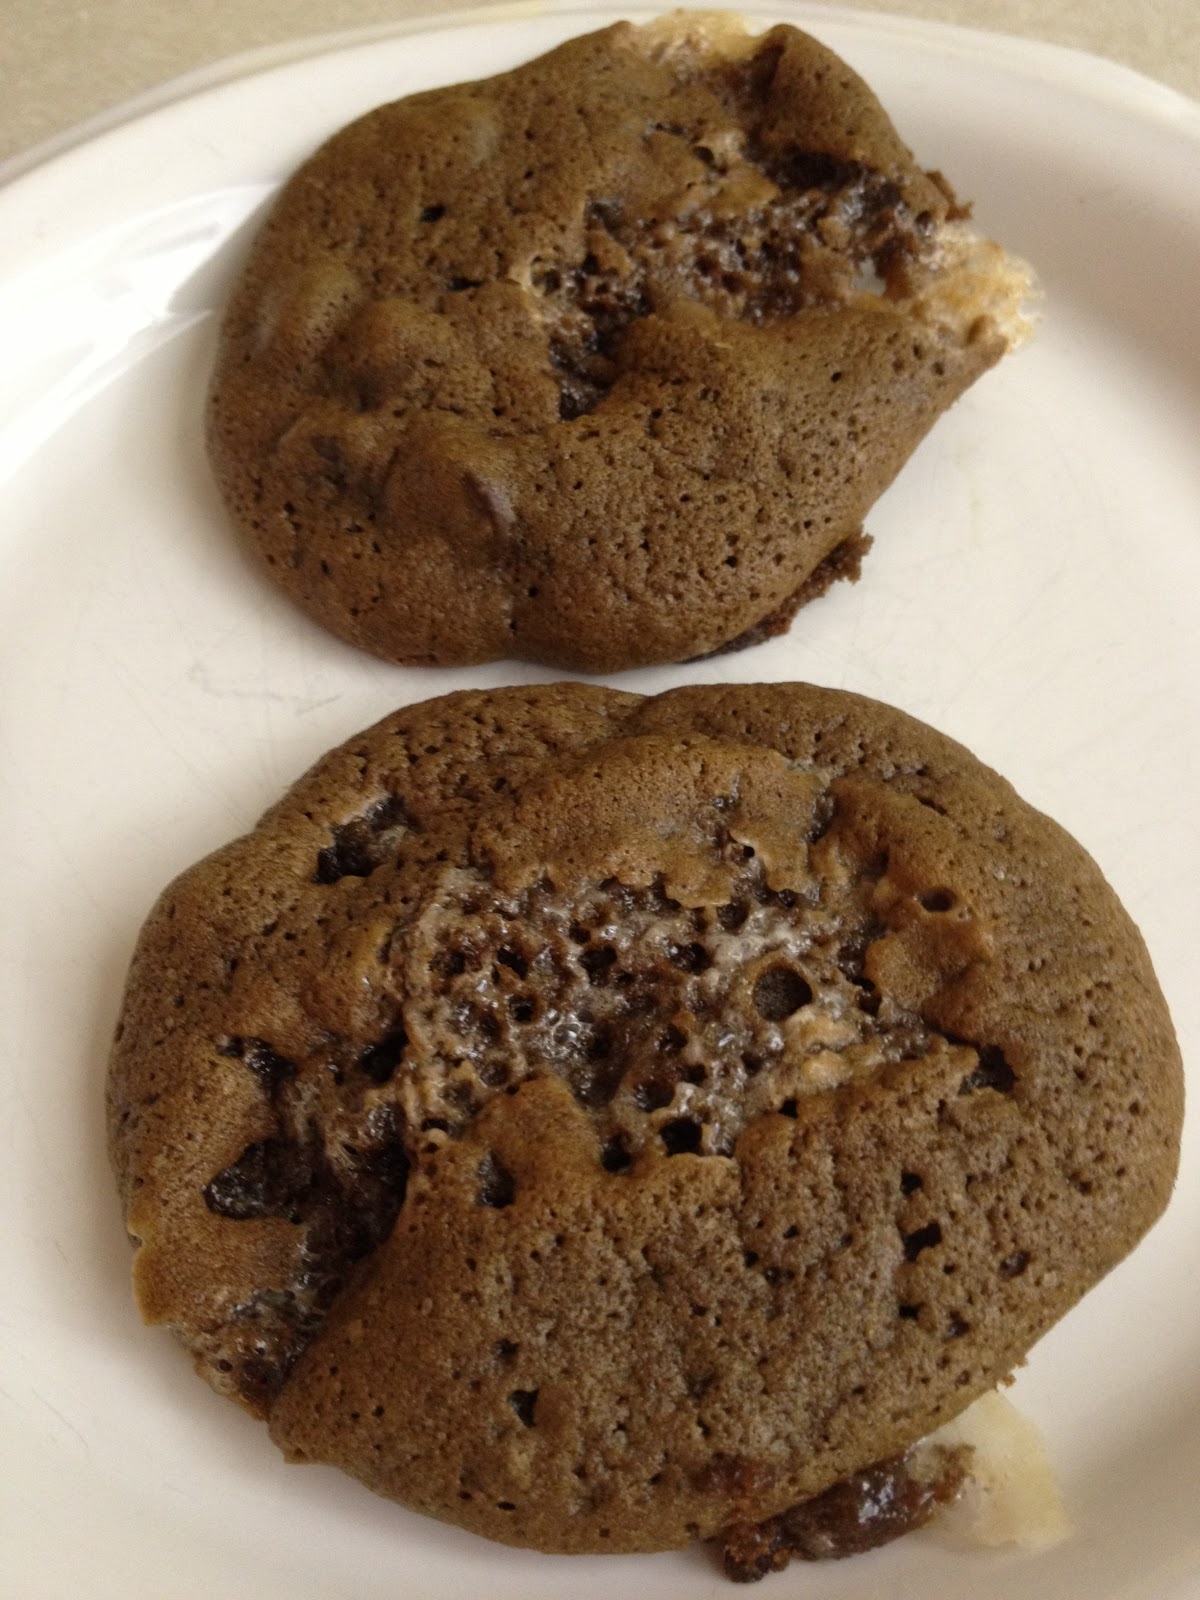
When I made these, (for a superbowl party), I was looking for a recipe that I had most of the ingredients  already. I got lucky and found these on the Picky Palate. I had everything I needed but I didn't have enough solid chocolate bars to make the chunks so I used half chunks, half chips. I think that had I used all large chunks, I would have achieved the gooey chocolate inside like the blog I got the recipe from did. Nevertheless they were delicious! My batch of cookies made around 50 cookies.

Chocolate Peanut Butter Swirl Cookies

1 cup creamy peanut butter
2 sticks softened butter
1 cup sugar
3/4 cup brown sugar
2 eggs
1 tablespoon vanilla
1 3/4 cups flour
1 teaspoon baking soda
1/2 teaspoon kosher salt
2 cups good quality chocolate chunks
1 cup cocoa powder

Preheat oven to 350 degrees F.
Line large baking sheet with parchment paper.
Place peanut butter into freezer until firm, about 30 minutes.
In the bowl of a stand mixer, cream butter and sugars.
Add eggs and vanilla, beating until well combined.
Whisk flour, baking soda, and salt in a large bowl.
Add to wet ingredients along with cocoa powder and chocolate chunks, slowly mixing until just combined.
Drop dollops of frozen peanut butter into dough and turn mixer a few times, to get swirls of peanut butter in the dough.
Scoop balls onto the cookie sheet 1 inch apart.
Bake 14-16 minutes.
Let cool on baking sheet for 5 minutes before transferring to a cooling rack.


Monday, December 10, 2012

Hot Cocoa Cookies


I was really excited to make these cookies. The picture on Lovin' From The Oven where I got this recipe looked so amazing. That combined with the fact that they're made with marshmallow fluff and mini marshmallows, I couldn't wait. But I was really dissapointed. Now don't get me wrong, these cookies are really moist and deliciously chocolately, but they're not at all what I expected. They are totally a different color and texture than the original picture and you cant even taste the marshmallow in them. That combined with the fact that I put them in a Tupperware without wax paper and now they're all stuck together. I've learned my lesson but I'm determined to give these cookies another try to see if it was this batch that went wrong and if I can get them right. I think I'll use dark chocolate cocoa when I do since her cookies were so much darker than mine.
Fortunately I made Mexican Hot Chocolate cookies too and they turned out just as good as every year. They're so sticky and when you roll them in the cinnamon/sugar/pepper mixture but so worth it in the end. I love making these because everyone loves them and I think they're a good mix to the usual Christmas cookies.

Hot Cocoa Cookies
makes about 2 dozen cookies

1 cup butter, (softened)
1 1/2 cups sugar
2 eggs
1 teaspoon vanilla
2 cups flour
1/2 cup cocoa powder
1 teaspoon baking soda
1/4 teaspoon salt
1/4 cup marshmallow fluff
1 cup chocolate chips
1 cup mini marshmallows

Cream together butter, sugar, eggs and vanilla until fluffy.
Add flour, cocoa powder, baking soda, and salt and mix until combined.
Stir in marshmallow fluff.
Fold in chocolate chips and marshmallows.
Cover and refrigerate for 30-60 minutes.
Remove and roll into 1 1/2 inch balls.
Preheat oven to 350 degrees F.
Bake 10-12 minutes.
Allow cookies to cool completely before removing.


Friday, October 5, 2012

Chocolate Espresso Sandwich Cookies


Hello my loves!
I'm so, so sorry about my absence! I've been working full time as a supervisor (I know, its exciting) and it's been taking all my energy but I think I'm finally getting a hang of things. The other good news is that I have been baking! Thanks to all the amazing people who pitched in to buy me a kitchen aid mixer for my 21st birthday! :)))
I know, best gift ever. Goodbye hand mixer!
The other hold up I've had to blogging is that I've had issues uploading my pictures:( but I figured a way to upload them so here we are.

Now to the wonderful goodness at the top of the page.
I've made these cookie sandwiches before, and they're a bit time consuming; but very much worth it. The chocolate espresso cookies are dry and crumbly so don't plan on making them without the filling, however, the two paired together is one of my favorite cookies by far! I'd say these are defiantly grown up cookies and are so worth the treat and breaking any diet.
Seriously, these are amazing. Try them and then thank me.
Recipe is from Broma Bakery.

Chocolate Espresso Sandwich Cookies 

For the cookies:
1 1/2 cups and 3 tablespoons flour
3/4 cups and 1 tablespoon cocoa powder
3/4 cups sugar
1/2 teaspoon baking soda
1 1/2 teaspoon salt
1/4 teaspoon instant espresso powder (or instant coffee)
15 tablespoons butter

For the filling:
8 oz white chocolate
1/2 cup heavy cream
1/4 teaspoon instant espresso powder

In a small saucepan over medium heat, bring the cream to a boil.
Remove from head and add the white chocolate and coffee powder.
Let stand for 1 minute, then whisk until white chocolate is completely melted.
Refrigerate for at least 30 minutes to allow filling to congeal.

Preheat oven to 350 degrees.
Prepare cookie sheets by lining them with parchment paper.
In your mixing bowl, combine all dry ingredients.
Set aside.
Cut the butter into cubes and add them in batches until the dough comes together.
On a floured surface, roll the dough until its about 1/8 inches thick.
Use a cookie cutter to cut dough into two inch rounds.
Place onto prepared baking sheet.
Bake for 12-15 minutes.
Transfer to cooling rack and let cool completely.

On a work surface, place half the cookies upside down.
Whisk the chilled filling or stir it with a teaspoon.
Dollop a teaspoon of filling onto the center of each upside down cookie.
Place second cookie on top of filling and press together until filling comes to the edges.


Thursday, September 15, 2011

Cherry Coke Cupcakes


I don't know if you know this about me, but my favorite soda is cherry coke. Especially when it's made with grenadine fresh at a bar. That's when they have the most flavor. So good.
Of corse I had to try to make these. There was the chance that chocolate coke was a odd tasting combination. But it was totally worth the risk.
I attempted to write "Coke" on the second one. You have to cut me some slack though because I am without the comforts of my house in Illinois. Like tips. That is right, I used a ziplock bag doing this.


There was an optional syrup on top of the cupcake and I think it's a good choice to add a little bit of coke flavor. Also, I used grenadine instead of the cherry juice. The original recipe that Annie's Eats used had only one cherry in the middle of the cupcake, she opted to use 4 or 5 but I went for three. The cupcakes are really moist and flavorful. Maybe a little more cherry flavor in the cupcake?

Cherry Coke Cupcakes
makes 12 cupcakes

For the cupcakes:
1 1/2 cups flour
3 tablespoons cocoa powder
1/2 teaspoon baking soda
1/4 teaspoon salt
3/4 cup sugar
8 tablespoons unsalted butter, (softened)
1 large egg
1/2 cup buttermilk
3/4 cup Coca-Cola
1/4 teaspoon maraschino cherry juice
2 teaspoon vanilla
maraschino cherries, (stemless)

For the glaze:
1 cup powdered sugar
2 tablespoons Coca-Cola

For topping:
2/3 cup heavy cream
3-4 tablespoons powdered sugar

maraschino cherries to add to the top

Preheat oven to 350.
Line your cupcake pan with your liners.
In a medium bowl combine the four, cocoa powder, baking soda and salt.
Stir together and set aside.
In the bowl of an electric mixer with the paddle attachment, combine the sugar and butter until light and fluffy.
Mix in the egg until incorporated.
In a bowl, combine the buttermilk, coke, cherry juice, and vanilla.
Mix the dry ingredients into the stand mixer on low speed and alternate with the liquid and dry, beginning and ending with the try and mixing until just incorporated. 
Divide the batter evenly between the cupcake liners.
Put 4 or 5 cherries into each cupcake and push them into the batter.
Bake for 18 minutes, or until a toothpick comes out clean.
Allow to cool for five minutes, then transfer to a wire rack to cook completely.
To make the glaze, combine the powdered sugar and coke in a small bowl and whisk until smooth. 
Spoon or drizzle a small amount on the top of each cupcake and allow to set before adding the whipped frosting. 
To make the whipped cream frosting, add the heavy cream to the bowl of a stand mixer fitter with the whisk attachment.
Begin whipping on medium speed, slowly adding the powdered sugar and gradually increasing the speed to high as the cream holds soft peaks.
Whip until the cream holds still peaks, be careful not to over beat them.
Spoon or pipe the whipped cream on top of the cupcakes and top each with a cherry.

Sunday, August 7, 2011

Chocolate Espresso Cookie Sandwiches With Peanut Butter Filling


Wow that title is a mouthful. But seriously, the thought of those 3 ingredients together is mouthwatering.
I've had this recipe by Lovin' From the Oven, my favorite food blog, bookmarked for a while, I have so many bookmarked recipes it's going to take me forever to try them all, which is not a bad thing!
I'm moving in 2 weeks, I'm so excited! The only problem is that everyone wants to go to dinner or lunch, which I love! BUT I'm going to gain so much weight it is not even funny! My oldest friend Jessica meet me for lunch at her favorite restaurant Olive Garden, you may have herd of it. I wanted to give her something because she's been such an amazing friend since my first years of high school and I don't know what my life would be without her. (AWW) So I decided to make her something sweet, and got all the ingredients for these bad boys.
Kim, who writes Lovin' From the Oven, warned that these wouldn't be easy. And I swear that my cookies never look like the picture, but I suppose everyone says that right? My cookies were a totally different color and texture, and I thought I probably cooked them too long. My filling had the opposite problem as hers, she could barley spread hers and mine was, not watery but defiantly not dry.
But after all that, I gave Jess the cookies and watched her eat one, looking oh so serious, and I had to asked, and guess what she said? "They're Perfect". I was quite pleased.
Also, when making these, I found out that smelling peanut butter makes me all kinds of nauseous. good to know.
Will you make them?


Chocolate Espresso Cookie Sandwiches with Peanut Butter Filling

makes about 12 cookie sandwiches 
For the cookies:
1 cup flour
3/4 cup processed cocoa powder
1 teaspoon baking soda
1/4 teaspoon salt
8 tablespoons of butter, (softened)
2/3 cup sugar
1/4 cup firmly packed brown sugar
1 large egg
1/2 teaspoon vanilla
3/4 cup chocolate chips
1 teaspoon instant espresso powder
For the filling:
2 cups powdered sugar
6 tablespoons butter, (softened)
1/2 cup creamy peanut butter
2 tablespoons of milk

Whisk together the flour, cocoa powder, baking soda, salt, and espresso powder. Set aside.
In the bowl of your standing mixer cream together the butter and both sugars.
Stir in the egg and vanilla.
Gradually mix in the flour mixture into the standing mixer, until just incorporated.
Stir in the chocolate chips.
Separate the dough into two and roll them into two uniform logs about twelve inches long.
Refrigerate it until firm enough to slice.
Preheat the oven to 350 degrees.
Cut the logs into 1 inch slices and place 1 1/2 inches apart onto your cooking sheets.
Bake for 15 minutes, or until the dough looks just baked.
The cookies should be tender, so do not over bake.
For the filling, cream all the ingredients together until well mixed.
Use immediately.